

This post may contain affiliate links which means I may receive a commission for purchases made through links. I will only recommend products that are valuable to my readers! Your participation has no effect on pricing.

Artificial lighting expands the creative possibilities for photographers. It includes continuous lighting and strobes or flashes. Continuous lighting, such as LED panels or tungsten lights, provides a consistent illumination that helps in understanding how light falls on the subject in real-time. On the other hand, strobes or flashes emit brief bursts of intense light, allowing freezing motion and controlling the exposure precisely.
It is advisable that all aspiring photographers learn about light color temperatures and how they effect the final image. Getting a grasp on white balance is also key when it comes to using artificial lighting. Since Color Temperature casts light in different colors knowing and comprehending when and what type of artificial lighting fits into your shoot the best.
 Work with different light sources. Experiment with how they effect your photographs. Continuous lighting like LED and Florescent will have a much different color temperature than Strobe and Speedlight (Flash units) lighting.
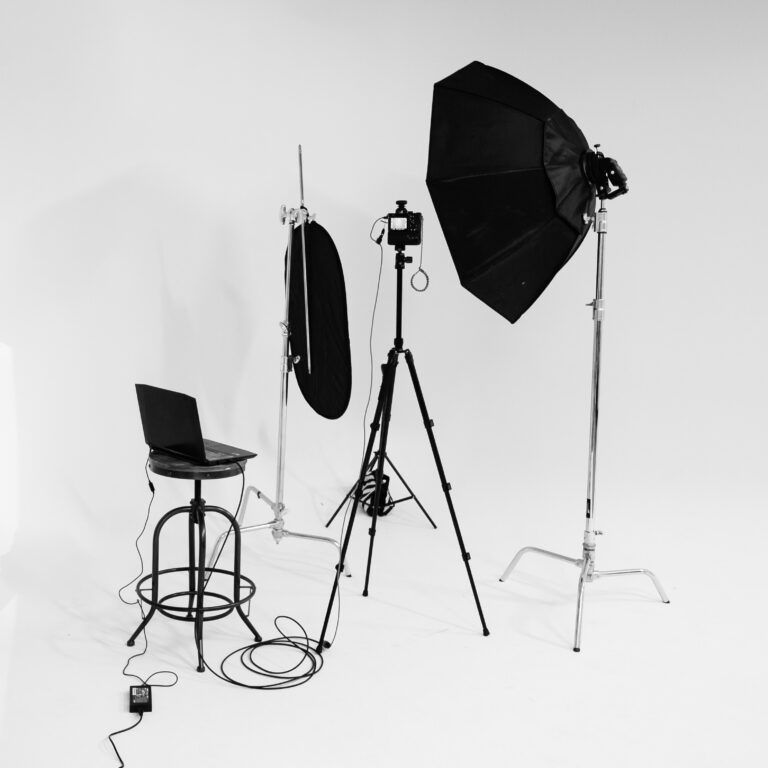
Modifiers play a crucial role in shaping and softening artificial light sources. By modifying the light and light sources, a photographer can slightly or greatly manipulate the final outcome of the shot.
 Softboxes: The modifiers are usually placed directly onto the light source being used. Resembling a fabric-covered housing, they diffuse harsh light to create a softer, more flattering effect on the subject. They also control the direction of the light as to concentrate it directly upon the subject.
 Umbrellas: Although their us is similar to soft boxes, umbrellas are available in either a reflective (bouncing light), or a shoot-through design (diffuse light), to provide a gentle and even illumination. Diffusers, placed in front of the light source, scatter and soften the light for a more natural and pleasing look.
 Reflectors: As the name implies, reflectors bounce or reduce the amount of light that is hitting the subject being photographed. Reflectors are widely used outdoors and indoors to control the actual direction light is coming from, and what temperature the reflected light will be. Reflectors are commonly seen in white, black, silver and gold. Each has its place in light modification.
Practice, experiment, and take a ton of shots using different methods of artificial lighting. The final outcome will be a drastic improvement in your photographic skills and knowledge.
Three Point Lighting: This is the most basic form of lighting, especially for portrait photography or controlled indoor settings. Understanding three-point lighting is invaluable. This classic technique involves three primary light sources: the key light, fill light, and backlight.
 Key Lighting: The key light serves as the primary light source, illuminating the subject. The key light is placed in front and at an angle to the subject. This is usually the brightest light in the sequence, but as with any rule, it isn’t always the case.
Fill Lighting: Fill light softens shadows created by the key light. This light is usually placed in a mirror image of the key light.
Back Lighting: Lastly, the backlight separates the subject from the background, adding depth and dimension to the image as well as giving hilights to hair, clothing and bare skin.


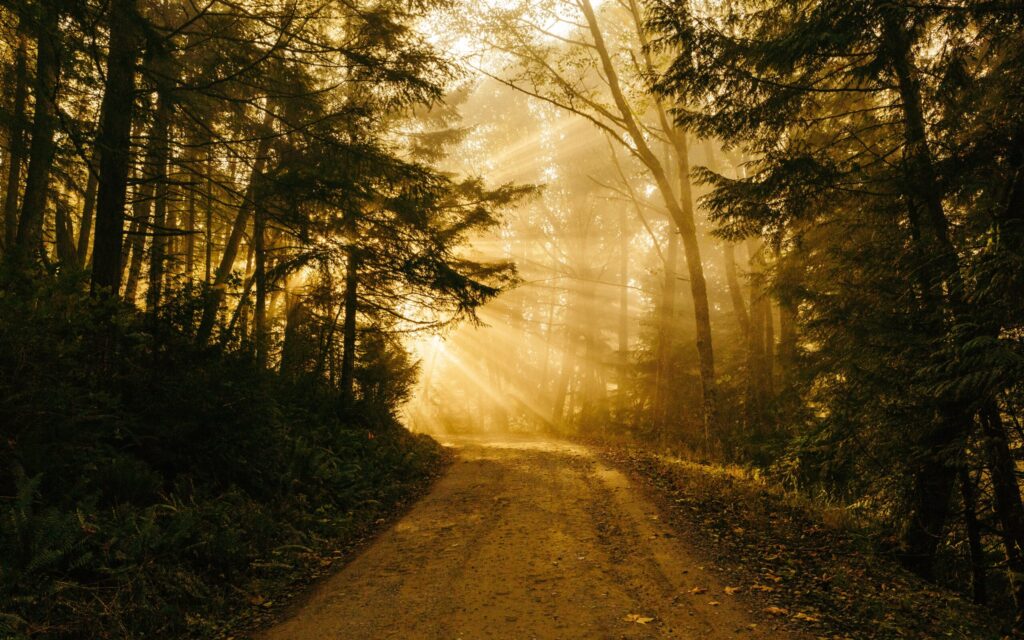
Experimentation is key when learning about lighting in photography. Start by observing how natural light interacts with your surroundings at different times of the day. Gradually introduce artificial lighting and modifiers, experimenting with various setups to understand their impact on your images. Practice regularly and review your work critically to gauge how different lighting techniques influence the overall quality of your photographs.
 As your self critique enlightens your eye for light and its effects, begin to experiment with introducing artificial light with your natural light situations. Using both lighting sources together can enlighten you to a whole new world of lighting effects. There are some very profitable niches that use this blending technique regularly and to great effect.
The blending of ambient or natural light with artificial light is very popular for outdoor family portrait sessionsand pet photography. Another niche that utilizes the blend of lighting is architectural, interior real estate photography, and interior design photography.
